
A garage door stop halfway can be manually tested by disconnecting the opener and running a few hands-on checks that reveal exactly where the problem is coming from. This kind of stop signals a mechanical or electrical issue that requires professional garage door repair before it can damage other parts of the system.
Manually testing the door by hand remains one of the fastest and most reliable ways to confirm the actual cause of the stop without guessing at the problem. The steps below walk through exactly how to run that test from start to finish and what each result reveals about the door’s overall mechanical condition.
Why Does a Garage Door Stop Halfway?
A garage door rarely stops halfway without a mechanical or electrical issue behind it, since the system is usually reacting to something binding, misaligned, or operating well outside its normal working range.
Common reasons a garage door stops halfway include:
- Worn or unbalanced springs that no longer carry the door’s weight through a full cycle.
- Sensor lenses blocked by dust, debris, or spider webs over time.
- Incorrect travel limit settings that stop the door short of the top or bottom.
- Loose track hardware that shifts out of place after years of use.
- Weak signal between the remote and the receiver, often due to low batteries.
To trace these causes back to their roots before they cause further damage, read our guide on Why Does a Garage Door Stop Halfway Up?, which breaks down every mechanical and electrical factor behind the issue.
What to Do After a Garage Door Stops Halfway

The first move after a garage door stops halfway is to stop using the opener and avoid forcing the door in either direction.
Steps to take right after a garage door stops halfway include:
- Disconnect the opener using the manual release cord before touching the door further.
- Check both sensor lights to confirm they are lit steadily and not blinking.
- Replace the remote batteries to rule out a weak signal as the cause.
- Listen for grinding or clicking near the opener motor and track.
- Check the circuit breaker in case a power interruption affected the opener’s memory.
Ruling out these simple causes first helps confirm whether the problem needs a closer manual test or a call to a trained technician.
What to Prepare Before Testing
A safe and accurate manual test depends on a few quick preparation steps before disconnecting the door from the opener.
Common things to prepare before testing a garage door stop halfway include:
- Clear the area of tools, vehicles, and other obstacles near the track.
- Locate the manual release cord and confirm it pulls smoothly.
- Keep hands and fingers clear of springs, cables, and rollers during the test.
- Have a second person nearby to help spot movement or resistance.
- Review the manufacturer’s instructions for the specific opener model being tested.
Completing this checklist first helps prevent injury and keeps the test results accurate and easy to trust from the start.
How to Manually Test a Garage Door Stop Halfway
The Halfway Balance Test
Lifting a disconnected door to its exact midpoint shows whether the springs still carry the door’s full weight without strain.
Here is how to complete the halfway balance test:
- Disconnect the opener using the manual release cord before lifting the door
- Raise the door by hand until it reaches the exact midpoint of the track
- Release the door gently without holding or guiding it further
- Watch closely for several seconds to see if the door drifts either way
- Repeat the test once more to confirm that the same result holds true
Regular garage door maintenance checks for balance problems like these well before the door stops completely.
The One-Foot Test
Lowering the door to about one foot off the ground checks whether the system holds that position on its own.
Follow these actions to carry out the one-foot test:
- Lower the disconnected door until it sits roughly one foot above the floor
- Let go of the door completely without pushing or holding it in place
- Watch the door for several seconds without touching it again
- Note whether the door stays put or begins to move on its own
- Reconnect the opener only after confirming the result of this test
A sudden drop during this test is one of the clearest signs that emergency garage door repair should follow right away.
Checking for Friction and Binding
Moving the door slowly by hand exposes resistance points that a motorized cycle can easily hide from a homeowner during normal operation.
Use this process to check for friction and binding:
- Grip the bottom section of the door firmly with both hands
- Move the door slowly upward along the full length of the track
- Listen closely for scraping, grinding, or popping sounds along the way
- Feel for spots where the door suddenly becomes harder to move
- Lower the door slowly back down while checking for the same resistance
Resistance isolated to one section of the track sometimes traces back to a garage door installation that was never fully aligned.
What Are the Next Steps After a Manual Garage Door Test
Test results point toward a few specific fixes worth trying before assuming the entire opener needs professional attention.
Steps worth trying after a manual test include:
- Adjust the travel limit settings according to the manufacturer’s instructions
- Clean the sensor lenses with a soft, dry cloth to rule out dirty sensors
- Check the lock button on the wall console for accidental engagement
- Confirm the battery backup is functioning after any recent power outages
- Test the remote from different spots in the driveway to rule out a weak signal
Trying these simple fixes first often resolves common opener issues without needing a full replacement right away.
What a Manual Test Reveals About the Problem
Results from the three manual tests point toward one of a few specific issues affecting the door’s overall performance.
|
Test Result |
What It Points To |
|
Door drifts up or down during the balance test |
Spring tension problems affecting the door’s weight distribution |
|
Resistance or grinding during the friction check |
Track or roller damage along the door’s path |
|
Door passes all manual tests, but still stops with the power connected |
Sensor or opener issues, rather than a mechanical problem |
|
Uneven movement or a sudden drop during testing |
Cable wear that needs a closer look |
Matching these test results to the right underlying cause makes it much easier to decide on the best course of action.
How Can the Manual Test Help Professionals Fix the Issue?
A trained technician builds on the same manual test results with tools and diagnostics not available in a typical garage.
Ways a manual test helps guide a professional repair include:
- Balance test results point technicians toward the exact spring adjustment needed
- One-foot test results confirm whether cables need replacement alongside the springs
- Friction test findings direct technicians to the specific track section needing realignment
- Test results ruling out mechanical issues help technicians focus on opener or sensor problems
- Shared test observations speed up diagnosis time during the professional visit
To weigh these results against a full repair before deciding on next steps, read our guide on How to Fix a Garage Door That Stops Halfway, which walks through what a professional repair visit typically entails.
How Professionals Fix a Garage Door That Stops Halfway After the Test
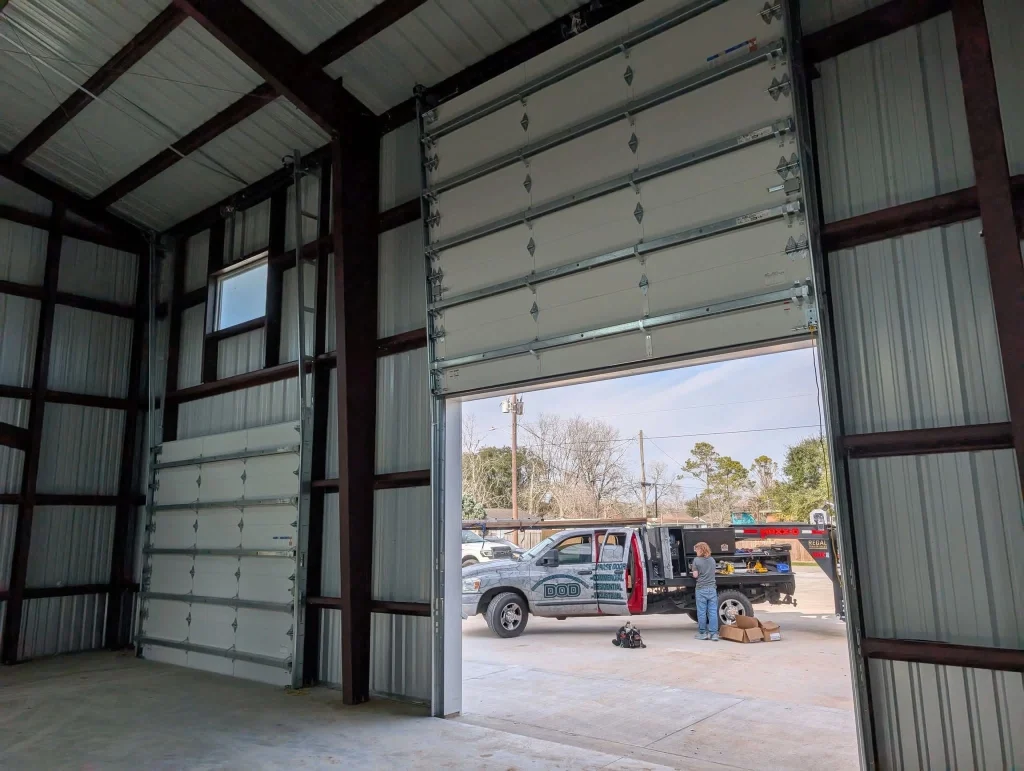
A trained technician uses the same test results a homeowner gathers to confirm the exact repair needed before starting any work.
Common repairs a professional visit can include:
- Spring tension adjustment or full spring replacement, depending on wear
- Track realignment or hardware tightening to correct binding
- Travel limit recalibration on the opener for consistent stopping points
- Sensor lens cleaning or replacement to resolve false stops
- Opener motor testing or drive gear replacement for repeated stopping issues
To carry these fixes into long-term upkeep and avoid a repeat visit, read our guide on How to Prevent a Garage Door Stop Halfway Issue, which covers the maintenance steps that keep repairs from becoming routine.
Manually Testing the Door Helps Guide the Right Repair
Manual testing reveals specific, useful information about how the springs, tracks, and opener work together in a garage door system. Running through the balance test, the one-foot test, and the friction check narrows down the actual cause well before a technician ever arrives on site.
Davis Overhead Doors, LLC works closely with homeowners across Cleveland, TX, to diagnose a garage door stop halfway issue using honest, accurate testing methods. Contact us or give us a call today, and let our trained team confirm exactly what the door needs to run through a full cycle again.