
Preventing a garage door stop halfway issue comes down to regular sensor cleaning, proper lubrication, correct track alignment, and routine balance testing of the opener system. Dirty sensors, worn rollers, and shifted limit settings rank among the most common reasons a garage door opener stalls partway through its cycle.
Each step targets a different part of the system and reduces the strain that often leads to stalling or incomplete door movement over time. This guide covers prevention steps, a solid maintenance schedule, and when garage door repair by a trained professional is the better path forward.
Why Does a Garage Door Stop Halfway?
A garage door stop halfway rarely happens without a clear mechanical or electrical trigger, since the opener reacts to a specific issue somewhere in the system with every incomplete cycle it runs.
Common reasons a garage door stops partway through its travel include:
- Dirty or misaligned sensors block the beam and force a reverse.
- Worn rollers or bent tracks create resistance during travel.
- Limit settings drift and cause the opener to misread the door position.
- An unbalanced door strains the motor, triggering a stop.
- Loose hardware or aging springs reduce overall performance.
To understand how these mechanical and electrical triggers connect to the bigger picture, read our guide on Why Does a Garage Door Stop Halfway Up?, which breaks down the causes of the issue in more detail.
How to Prevent a Garage Door From Stopping Halfway
Clean and Align Safety Sensors
Sensor problems account for a large share of garage door opener issues and are usually the easiest ones to check firsthand.
A quick sensor check should include the following steps:
- Looking closely for a steady light on both sensor units near the floor.
- Noting any flickering or completely dark light showing on either side.
- Wiping any dust, debris, or spider webs off both sensor lenses.
- Realigning the mounting brackets so the sensors face each other directly.
- Testing the door once more after the lenses have been fully cleaned.
A sensor that remains dark or unresponsive after cleaning may indicate a wiring issue serious enough to require emergency garage door repair.
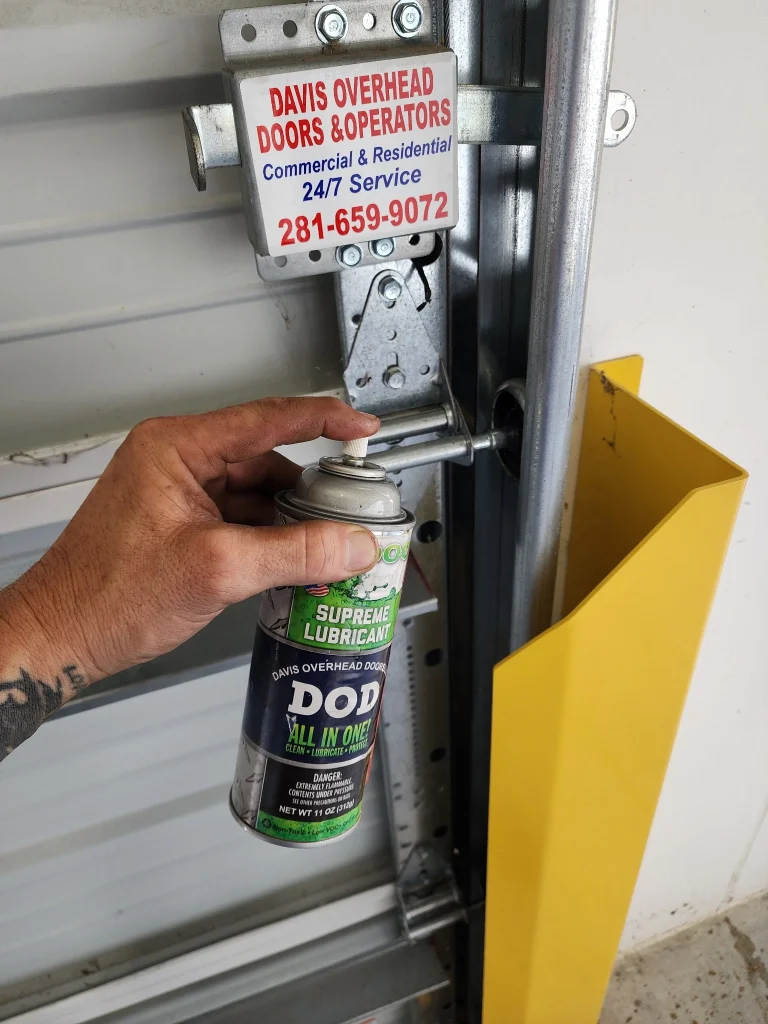
Lubricate Moving Parts
Dry components force the opener motor to work harder and often result in a stall somewhere in the middle of the cycle.
A proper lubrication routine should include the following steps:
- Applying a silicone-based lubricant to rollers, hinges, and springs.
- Choosing silicone over petroleum grease, which attracts dust and grime.
- Wiping off any excess product left on the metal surfaces.
- Listening for grinding or squeaking sounds during the next few cycles.
- Repeating this process roughly every six months for consistent results.
Smooth, well-lubricated parts reduce strain on the motor and keep the door moving through its full cycle without hesitation.
Clear and Straighten Tracks
Bent tracks or built-up debris create enough resistance to throw the rollers off course during a normal cycle.
A track inspection should include the following steps:
- Vacuuming along both tracks to clear dust and small debris.
- Checking closely for dents, gaps, or visible bends in the metal.
- Running a level along each track to confirm proper alignment.
- Tightening any bracket hardware that feels loose to the touch.
- Watching roller movement closely during the next full cycle.
Significant track damage may call for a garage door installation professional to assess whether repair or full replacement makes more sense for the system.
Test Door Balance
An unbalanced door forces the opener motor to compensate for extra weight it was never designed to carry.
A balance test should include the following steps:
- Pulling the emergency release cord to disconnect the opener fully.
- Lifting the door manually to roughly the halfway point.
- Releasing the door gently and watching how it responds.
- Noting whether it stays in place, drifts down, or shoots upward.
- Scheduling a professional inspection if the door fails to hold steady.
To confirm whether a balance issue points to a bigger problem, read our guide on How to Manually Test a Garage Door Stop Halfway, which walks through additional testing methods homeowners can use before calling a professional.
Adjust Limit Switches and Force Settings
Small shifts in limit settings can trick the opener into misreading the door’s position during a completely normal operating cycle.
A limit and force adjustment should include the following steps:
- Locating the limit adjustment dials on the opener unit itself.
- Making one small adjustment at a time before testing again.
- Increasing force settings slowly to protect built-in safety features.
- Checking the manufacturer’s instructions before altering any travel limits.
- Confirming smooth operation across several full cycles afterward.
Working these checks into a routine garage door maintenance schedule keeps limit settings accurate and prevents the same issue from returning.
Garage Door Maintenance Schedule for Long-Term Prevention
Regular maintenance on a set schedule keeps every part of the opener system working together and reduces the odds of a stall or reversal mid-cycle.
Maintenance Task | Recommended Frequency | Why It Matters |
Clean and test safety sensors | Every month | Prevents false stops caused by dust, debris, or misalignment |
Lubricate rollers, hinges, and springs | Twice a year | Reduces motor strain and prevents grinding or sticking |
Inspect tracks for debris, dents, or bends | Each season | Catches alignment issues before rollers jump the track |
Test door balance | Every few months | Identifies spring wear before it causes a sudden drop |
Review limit settings and force adjustments | Once a year | Keeps the opener reading door position accurately |
Check remote batteries and battery backup | Twice a year | Avoids weak signal issues and failures during power outages |
Following this schedule helps homeowners avoid the more frustrating opener issues tied to skipped maintenance.
Signs Prevention Steps Are Not Working
Regular maintenance reduces most opener problems, though a few warning signs point to an issue that basic prevention alone can no longer fix.
Watch for these signs that prevention steps are falling short:
- Unusual grinding, popping, or scraping noises during operation.
- The door stops at the same point during every cycle.
- Visible rust, gaps, or stretching on the springs.
- A noticeably slower or jerkier response than usual.
- Repeated reversals even after sensors and tracks have been checked.
Noticing these signs early helps homeowners get ahead of a bigger opener issue before it turns into a full repair.
What to Check Before Calling a Professional
A few quick checks can confirm whether an issue is something simple to fix or something that genuinely requires expert attention right away.
These checks rule out the most common causes first:
- Confirm remote batteries are not causing a weak or delayed signal.
- Check the circuit breaker to rule out a power interruption.
- Inspect sensor lenses for dust, dirt, or misalignment blocking the beam.
- Test the door using both the wall switch and the lock button.
- Watch for consistent stalling at the same point during every cycle.
Ruling out these basics first saves time and helps a trained technician diagnose the real issue faster and more accurately.
How Professionals Fix a Garage Door Stopping Halfway
Once basic checks are ruled out, a trained technician can identify and resolve the issue using tools and experience beyond typical home maintenance.
A professional repair visit typically includes the following steps:
- A full inspection of the opener motor, drive gear, and travel limit settings.
- Testing of safety sensors, wiring connections, and the circuit breaker.
- An evaluation of garage door springs and overall door balance.
- Adjustments to force settings and alignment where needed.
- A recommendation for repair, a reset, or a new opener, depending on the findings.
To learn more about what a full repair process involves, read our guide on How to Fix a Garage Door That Stops Halfway, which walks through each step a technician takes to resolve the issue.
Prevention Works Best With the Right Maintenance Partner
Preventing a garage door stop halfway issue comes down to consistent habits, quick self-checks, and knowing exactly when a problem needs professional attention right away. Sensor cleaning, lubrication, and balance testing all work together to support the opener system for the long term and beyond.
Davis Overhead Doors, LLC specializes in identifying the early signs of a garage door stop halfway issue for homeowners throughout Cleveland, TX, and nearby areas. Contact us or give us a call today, and let our team assess the system’s needs before a small issue grows into a larger repair.